
In addition to my new moons, I also received some sample DC/DC converters from Texas Instruments. In order to experiement successfully with this new switch-mode power supply, I need to be able to use it on a breadboard.
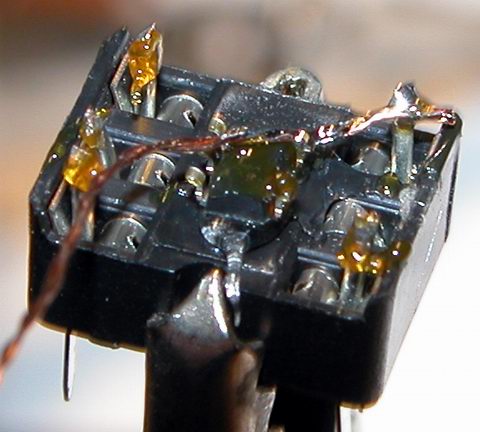
I could have drawn up and made my own ‘breakout board’ pcbs. I could have bought commerically made ‘experimentor’ boards. But I decided to use the cheap and fast “dead bug” method instead. I used a little dab ‘o hot glue and a 6-pin DIP socket to convert my SOT-23 packaged device into something I can now use with a bread board.
The jumper wires I used are two strands of wire for a 24ga stranded wire. I twisted the two strands together for a little more strenght. I also used some 24 ga solder wire to extend up from each spring in the socket, rather than soldering to the spring itself. The hard part with this process, and I think I’ll look to epoxy instead of hot glue next time – as I heated the part during soldering, it would soften the glue, and the part would move! In the last picture, it looks like there are some solder bridges, but there are not – that crap between the pins is just debris from my parts cleaning brush … looks like its time for a new brush!
More on the TPS61040 and what it does a bit later.
Enjoy:

6 pin dip socket
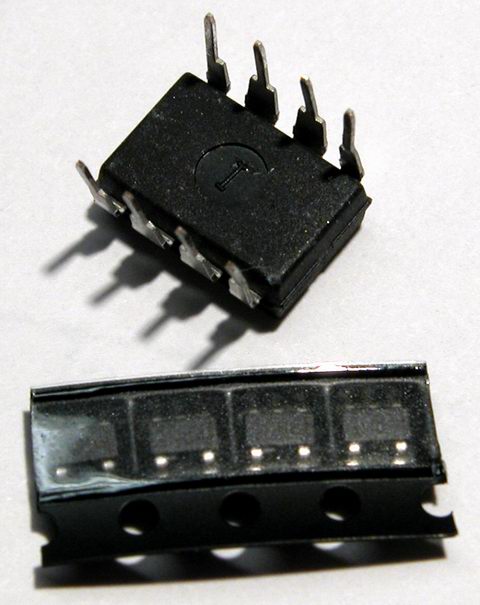
cut tape string of four converters
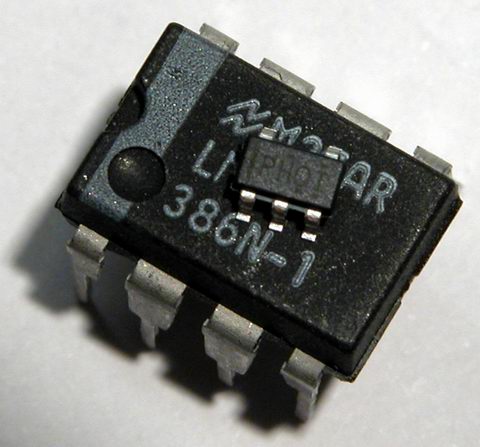
single converter sitting on an 8 pin DIP package IC

converter glued to ic socket
starting the soldering process

finished soldering